Crochet Neck Hoodie Free Pattern: Easy Step-by-Step Guide
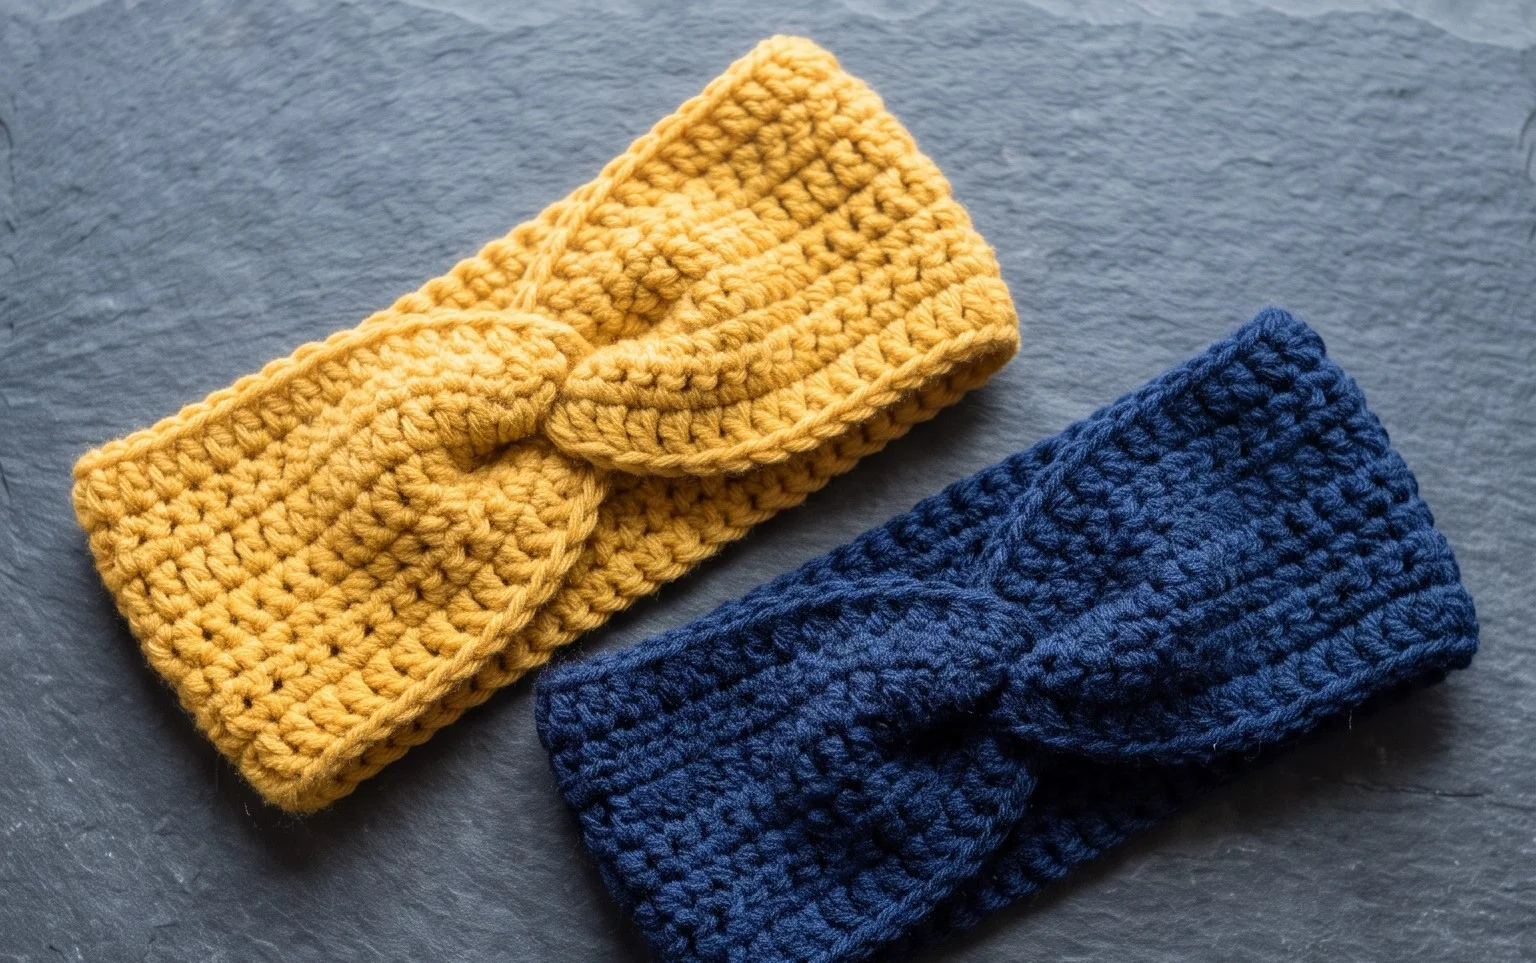
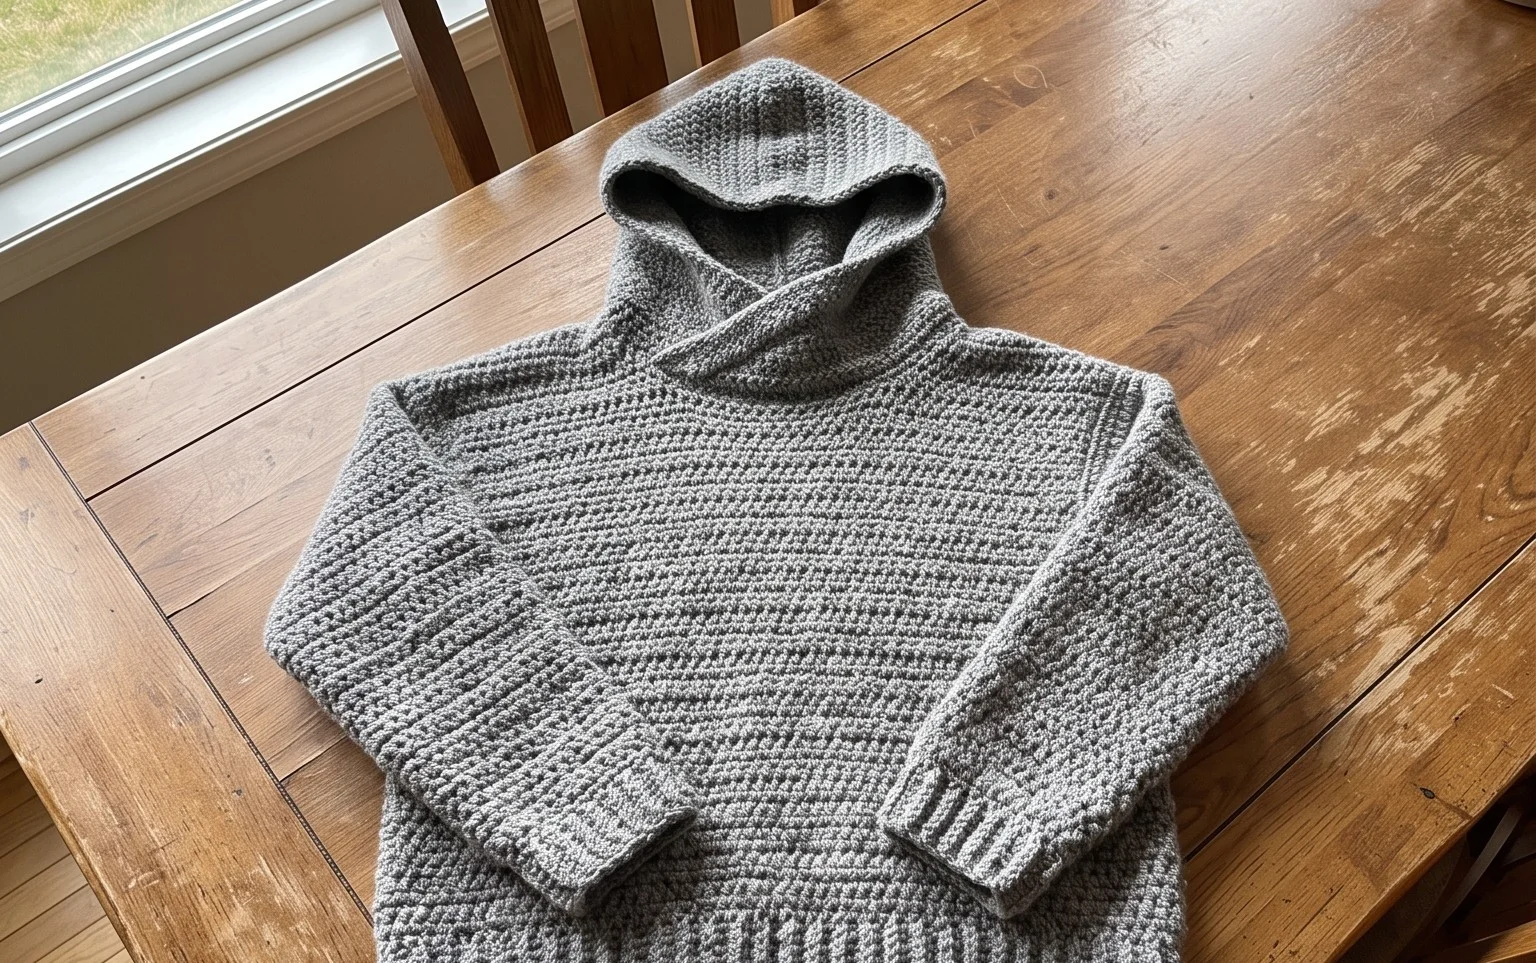
A high, oversized collar keeps the biting winter wind away from your neck and chin during long walks or chilly mornings. This hooded cowl design uses chunky worsted weight yarn to build a squishy fabric that holds its shape while remaining comfortable against bare skin. Beginners will find the repetitive nature of the granny square construction a reliable way to practice tension control without the stress of shaping complex garments. You will learn how to join these simple blocks into a seamless infinity-style loop that transforms into a hood once pulled up. This project turns a basic stash of yarn into a warm accessory that makes a thoughtful gift for friends or a reliable staple for your own closet. We move from building each individual square to assembling the hood structure with minimal ends to weave in later.
Why You’ll Love This Pattern
The Classic Crochet Granny Square is the fundamental building block of crochet heritage, favored for its modular nature and meditative rhythm. You will appreciate how quickly each square works up, making it a portable project that fits easily into a commute or an evening of television. Because it is worked in rounds from the center outward, you can stop at any size to create everything from a small coaster to a sprawling heirloom blanket. This pattern uses basic stitches to create a dense, textured fabric that is sturdy enough for functional home decor but soft enough for wearable accessories.
I finally mastered the granny square with this guide because the instructions made the transition between rounds so clear and simple to follow. — Sarah, crochet enthusiast
Pattern Overview & Skill Level
- Skill Level: Beginner
- Approximate Time: 30 to 45 minutes per square
- Construction: Worked in rounds starting from a center ring
- Finished Dimensions: Approximately 5 inches square using the specified yarn and hook
Materials & Supplies Needed
- Yarn: Worsted weight (#4), 100% acrylic or wool blend, approximately 20 yards per square.
- Hook Size: 5.0 mm (H-8).
- Notions: Tapestry needle for weaving in ends, sharp scissors.
- Yarn Substitutions: Cotton yarn will result in a firmer, heavier square with less drape, while a lighter DK weight yarn will require a smaller hook (e.g., 4.0 mm) and result in a smaller finished square.
Stitch Guide & Abbreviations (US Terms)
- ch = chain
- sl st = slip stitch
- dc = double crochet
- st/sts = stitch/stitches
- sp = space
- Cluster = A group of 3 double crochet stitches worked into the same space.
Step-by-Step Pattern Instructions
The Square Base
- Foundation: Ch 4, join with a sl st to the first ch to form a ring.
- Rnd 1: Ch 3 (counts as first dc), work 2 dc into the ring, ch 2, *3 dc into ring, ch 2; repeat from * twice more. Join with sl st to the top of the beginning ch-3. (12 sts, 4 corner ch-sp)
- Rnd 2: Sl st into the next dc and into the corner ch-sp. Ch 3, 2 dc in same sp, ch 2, 3 dc in same sp (first corner made). *Ch 1, skip 3 sts, (3 dc, ch 2, 3 dc) in next corner ch-sp; repeat from * twice more. Ch 1, join with sl st to the top of the beginning ch-3. (24 sts, 4 corner ch-sp)
- Rnd 3: Sl st into the next dc and into the corner ch-sp. Ch 3, 2 dc in same sp, ch 2, 3 dc in same sp. *Ch 1, 3 dc in the next ch-1 side sp, ch 1, (3 dc, ch 2, 3 dc) in the next corner ch-sp; repeat from * twice more. Ch 1, 3 dc in the last ch-1 side sp, ch 1, join with sl st to the top of the beginning ch-3. (36 sts, 4 corner ch-sp)
- Rnd 4: Continue in established pattern, working 3 dc in each side ch-1 space and (3 dc, ch 2, 3 dc) in each corner. Join with sl st to the first st. (48 sts, 4 corner ch-sp)
Finishing
Fasten off the yarn, leaving a 6-inch tail. Pull the tail through the final loop to secure the knot. Use a tapestry needle to weave the tail end back and forth through the stitches on the back side of the square to hide it securely. Trim the excess yarn close to the fabric.
Care & Washing Instructions
- Machine wash your finished item on a gentle cycle in cold water with mild detergent.
- Lay the piece flat on a clean towel and reshape it to its original square dimensions while damp.
- Avoid using a tumble dryer, as high heat can shrink acrylic fibers and distort the shape of the crochet stitches.
Pro Tips & Common Mistakes to Avoid
Maintaining consistent tension is essential for a square that lays flat; if your stitches feel too tight, try moving up one hook size. Always place a stitch marker in the first stitch of every round so you can easily identify where to join your slip stitch. When weaving in your ends, ensure you run the needle through the center of the stitches rather than across the gaps to prevent the tails from poking out. To adjust the size of the square, simply repeat the instruction for Rnd 4 until your desired width is reached, remembering that each additional round will require approximately 10 additional yards of yarn.
Frequently Asked Questions
Can I use a different weight of yarn for this pattern?
Yes, you can use any yarn weight. If you use a thicker yarn, you will need a larger hook and will end up with a larger square. If you use thinner yarn, you will need a smaller hook and result in a smaller square.
Is this pattern suitable for complete beginners?
This pattern is ideal for beginners because it only requires chains, slip stitches, and double crochets. These three techniques form the foundation for most intermediate and advanced crochet projects.
How do I join multiple squares together?
You can join squares using a whip stitch or a single crochet seam. Both methods involve aligning the edges of two squares and working through the back loops of the matching stitches on each side.
Can I sell the items I make with this pattern?
You are welcome to sell finished products made from this pattern, provided you credit the source. Always check the specific designer terms if you are using this as a foundation for commercial work.
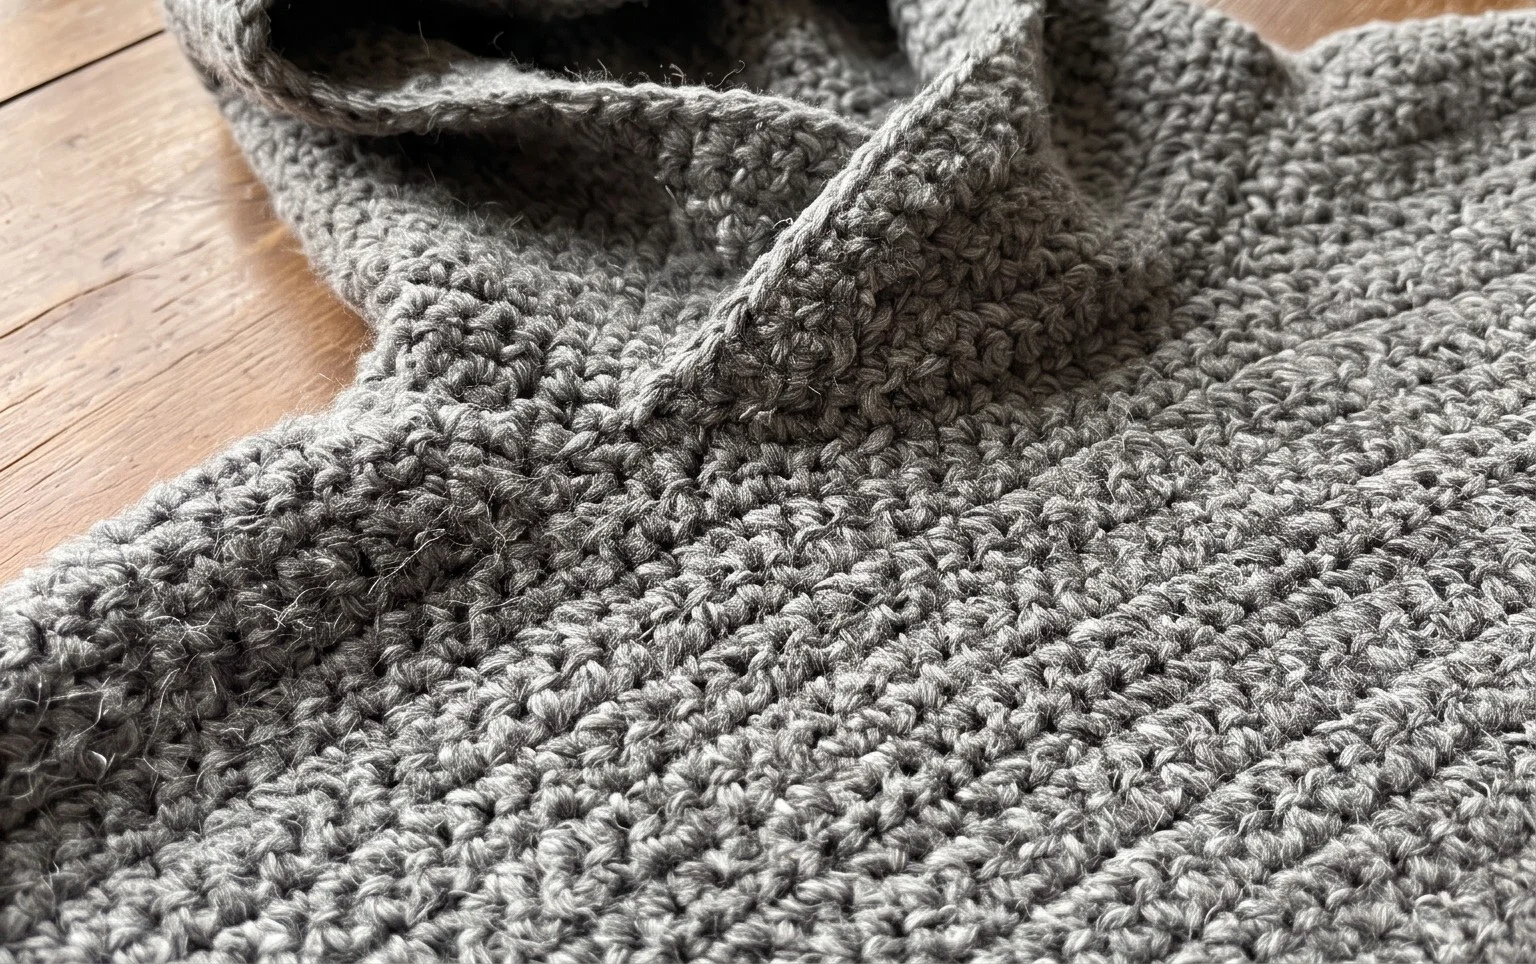
You now have a finished piece that brings a layer of soft, handmade warmth to your winter coat collection. Try swapping the traditional acrylic yarn for a variegated wool blend if you want to add an unexpected pop of color that changes as you work around each corner. Share a photo of your finished hood on your favorite social platform so others can see your unique stitch work. Take a moment to browse the rest of the blog for more patterns that use accessible materials to build your seasonal wardrobe. Each new project builds on these basic construction skills, helping you gain more confidence with every hook movement.