Classic Crochet Granny Square: Free Beginner Pattern
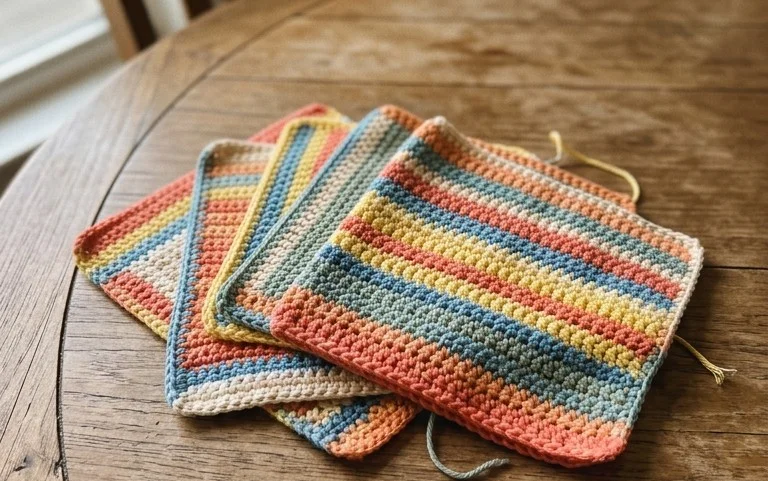
Soft to the touch and remarkably sturdy, this classic square has a structured feel that holds its shape well after washing. You will appreciate how the simple clusters create a balanced geometric look, making it a reliable choice for beginners who want to build confidence without struggling with complex counting. It serves as a great introduction to working in the round, allowing you to focus on maintaining even tension throughout every single stitch. Whether you are aiming to assemble a colorful blanket or just need a small meditative project to occupy your hands during a quiet afternoon, these squares are endlessly satisfying to produce.
Why You’ll Love This Pattern
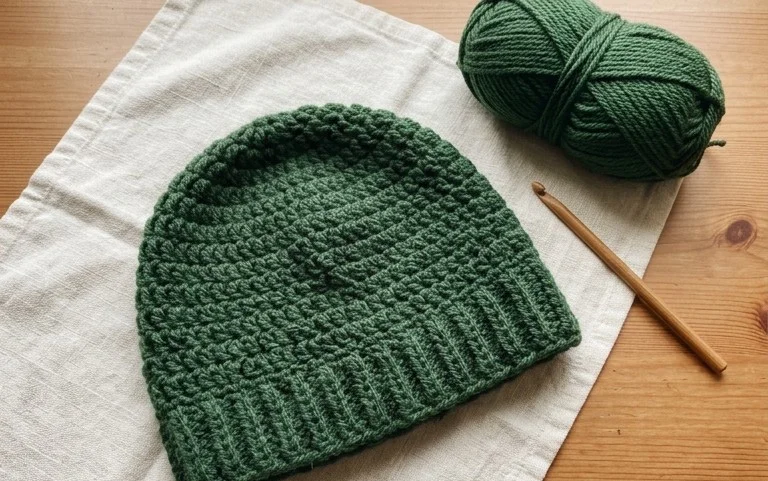
The Classic Crochet Granny Square is the foundation of countless heritage projects, offering a rhythmic, meditative process that is perfect for honing consistent tension. You will find that this pattern works up quickly using basic stitches, making it an ideal choice for both mindful evening crafting and building a collection of components for larger blankets or bags. Because it relies on simple clusters of double crochet stitches, it is highly forgiving for beginners while remaining engaging enough for those who want to practice color transitions. The square is inherently portable, fitting easily into a small project bag for work during a commute or while traveling.
I finally mastered my tension after making just five of these squares, and the instructions made the corners much easier to manage than other patterns I have tried.
— Sarah, hobbyist crocheter
Pattern Overview & Skill Level
- Skill Level: Beginner
- Approximate Time: 30 to 45 minutes per square
- Construction: Working in joined rounds, starting from the center and expanding outward
- Finished Dimensions & Sizing: Approximately 5 inches by 5 inches using medium weight yarn and a 5.0 mm hook
Materials & Supplies Needed
- Yarn: Worsted weight (#4), acrylic or cotton blend, approximately 20 yards per square.
- Hook Size: 5.0 mm (H-8).
- Notions: Tapestry needle for weaving in ends, sharp scissors.
- Yarn Substitutions: You can use DK weight yarn for a smaller, more delicate square, or bulky weight yarn for a faster, larger square. Note that changing yarn weight will alter your final dimensions and require a different hook size to maintain the correct drape.
Stitch Guide & Abbreviations (US Terms)
- ch = chain
- st/sts = stitch/stitches
- sl st = slip stitch
- dc = double crochet
- sp = space
- cluster = a group of 3 dc stitches worked into the same space
- magic ring = a circular starting method that allows you to pull the center tight
Step-by-Step Pattern Instructions
Granny Square Base
- Rnd 1: Start with a magic ring. Ch 3 (counts as first dc throughout), work 2 dc into ring, ch 2, *3 dc into ring, ch 2; repeat from * twice more. Join with a sl st to the top of the beginning ch 3. (12 sts, 4 ch-2 corner spaces)
- Rnd 2: Sl st into the next 2 sts and into the first ch-2 corner sp. Ch 3, 2 dc, ch 2, 3 dc in same corner sp. *Ch 1, (3 dc, ch 2, 3 dc) in next ch-2 corner sp; repeat from * twice more. Ch 1, join with a sl st to the top of the beginning ch 3. (24 sts, 4 corner spaces, 4 ch-1 side spaces)
- Rnd 3: Sl st into the next 2 sts and into the first ch-2 corner sp. Ch 3, 2 dc, ch 2, 3 dc in same corner sp. *Ch 1, 3 dc in next ch-1 side sp, ch 1, (3 dc, ch 2, 3 dc) in next corner sp; repeat from * twice more. Ch 1, 3 dc in last ch-1 side sp, ch 1, join with a sl st to the top of the beginning ch 3. (36 sts, 4 corner spaces, 8 ch-1 side spaces)
- Rnd 4: Sl st into the next 2 sts and into the first ch-2 corner sp. Ch 3, 2 dc, ch 2, 3 dc in same corner sp. *Ch 1, (3 dc in next ch-1 sp, ch 1) across side to next corner, (3 dc, ch 2, 3 dc) in next corner sp; repeat from * twice more. Ch 1, 3 dc in each remaining side sp, ch 1, join with a sl st to the top of the beginning ch 3. (48 sts, 4 corner spaces, 12 ch-1 side spaces)
Finishing
Once you reach your desired size, fasten off your yarn, leaving a 6-inch tail. Use a tapestry needle to weave the tail through the back of the stitches to secure it. If you are joining multiple squares, you may leave longer tails for sewing or use a separate strand of yarn for a seamless join.
Care & Washing Instructions
- Hand wash your finished project in cool water with a mild detergent to preserve fiber integrity.
- Lay the piece flat on a clean towel to air dry, avoiding direct sunlight or high heat.
- Gently steam or mist the square with water and pin it to a foam board to block it into a perfect, uniform shape.
Pro Tips & Common Mistakes to Avoid
- Maintain consistent tension by holding the working yarn with enough resistance to prevent loops from becoming loose or uneven.
- Always place a locking stitch marker in the first chain of your starting ch-3 to easily identify the final stitch of the round.
- Weave your ends in multiple directions through the back of the stitches to ensure they remain secure during washing and heavy use.
- Adjust the size of the square by simply adding more rounds following the pattern established in Round 4, keeping in mind that each additional round will increase your yarn requirement by approximately 5 to 7 yards.
Frequently Asked Questions
Can I use a different hook size than recommended?
Yes, you can use a smaller hook for a tighter, denser fabric or a larger hook for a more open, lacy texture. Be aware that this will change the final size of your square and the amount of yarn consumed.
Is this project suitable for a complete beginner?
This pattern is excellent for beginners because it focuses on the double crochet stitch and chaining, which are the fundamental building blocks of most crochet projects.
How do I join these squares together?
You can join squares using a whip stitch with a tapestry needle for a hidden seam, or a slip stitch join through the back loops for a decorative, raised ridge effect.
May I sell items made from this pattern?
You are welcome to sell finished items created from this pattern, provided you credit the original designer. Please ensure you do not redistribute or sell the pattern document itself.
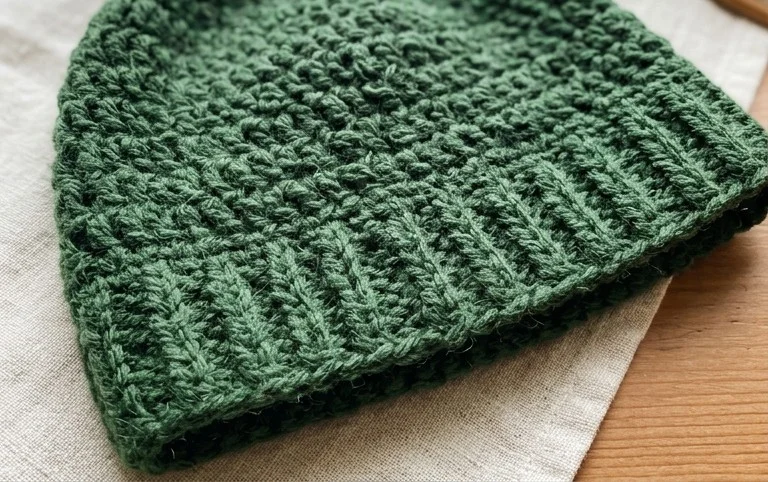
Seeing your stack of finished squares grow is one of the most rewarding parts of this process, especially once you lay them out to plan a larger layout. You can experiment with a marled yarn for a soft color gradient or hold two strands of finer thread together to make a heavier block for home decor items. Once your project is complete, consider posting a snapshot of your work online to show off your progress. Please head back to our archives to browse through many more free pattern resources whenever you are ready for a new project.