Delaney Hat Free Crochet Pattern: Easy Step-by-Step Guide
This simple cotton accessory features a firm, clean stitch density that keeps the sun out of your eyes while maintaining a soft, flexible shape. It feels sturdy against your skin, making it a reliable staple for gardening or beach days. New makers will appreciate how the circular foundation grows into a professional-looking silhouette without the need for complicated lace or complex color changes. You will learn how to manage consistent tension and execute precise increases to create a smooth, comfortable fit. It is a satisfying project to hold in your hands after a few hours of work.
Why You’ll Love This Pattern
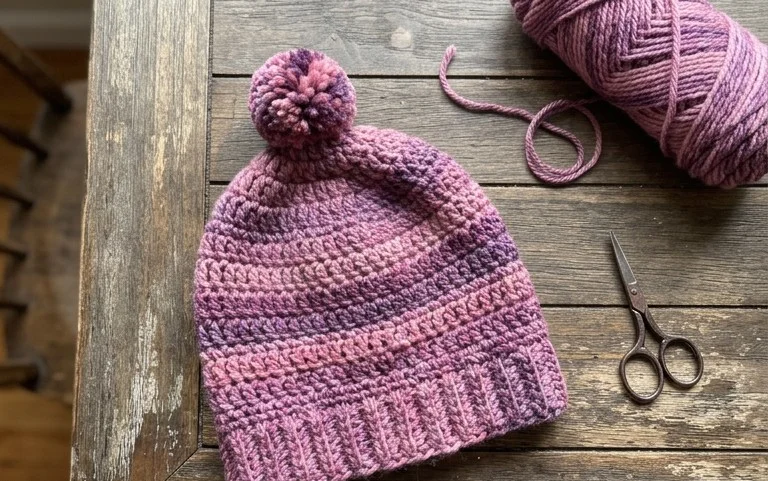
The Classic Crochet Bucket Hat is a project that balances utility with style. It works up quickly using simple single crochet stitches, making it a reliable choice for a weekend afternoon or a last-minute gift. The dense fabric structure provides excellent sun protection while maintaining enough flexibility to be folded into a bag without losing its shape. Because it uses a simple increase structure, you can easily adjust the circumference to ensure a comfortable fit for any head size.
I managed to finish this hat in one evening while watching a show. The shaping is very logical and it fits perfectly without being too loose or tight.
— Sarah, casual crafter
Pattern Overview & Skill Level
- Skill Level: Beginner
- Approximate Time: 3 to 5 hours
- Construction: Worked in continuous rounds from the top down, starting with a flat circle and transitioning to a seamless side wall and brim.
- Finished Dimensions: 22-inch circumference, fits most average adult heads.
Materials & Supplies Needed
- Yarn: Worsted weight #4, 100% cotton, approximately 200 yards. Cotton is preferred for its structure and breathability.
- Hook Size: 4.5 mm (US 7) to achieve a firm gauge that prevents gaps.
- Notions: Stitch marker to track the start of rounds, tapestry needle for weaving ends, and scissors.
- Yarn Substitutions: Acrylic blends are acceptable but will result in a softer, less structured hat. Wool is not recommended as it may become too warm and lose shape when damp.
Stitch Guide & Abbreviations (US Terms)
- MR: Magic ring
- ch: Chain
- sc: Single crochet
- inc: 2 sc in the same stitch
- sl st: Slip stitch
- BLO: Back loop only, used to create a crisp edge between the crown and the side wall.
Step-by-Step Pattern Instructions
Crown
- Rnd 1: 6 sc in MR (6 sts).
- Rnd 2: inc in each st around (12 sts).
- Rnd 3: [sc in next st, inc in next st] 6 times (18 sts).
- Rnd 4: [sc in next 2 sts, inc in next st] 6 times (24 sts).
- Rnd 5: [sc in next 3 sts, inc in next st] 6 times (30 sts).
- Rnd 6: [sc in next 4 sts, inc in next st] 6 times (36 sts).
- Rnd 7: [sc in next 5 sts, inc in next st] 6 times (42 sts).
- Rnd 8: [sc in next 6 sts, inc in next st] 6 times (48 sts).
- Rnd 9: [sc in next 7 sts, inc in next st] 6 times (54 sts).
- Rnd 10: [sc in next 8 sts, inc in next st] 6 times (60 sts).
Side Wall
- Rnd 11: sc in BLO in each st around (60 sts).
- Rnd 12-25: sc in each st around (60 sts per round).
Brim
- Rnd 26: [sc in next 9 sts, inc in next st] 6 times (66 sts).
- Rnd 27: sc in each st around (66 sts).
- Rnd 28: [sc in next 10 sts, inc in next st] 6 times (72 sts).
- Rnd 29: sc in each st around (72 sts).
- Rnd 30: [sc in next 11 sts, inc in next st] 6 times (78 sts).
- Rnd 31: sc in each st around, sl st to join and fasten off (78 sts).
Care & Washing Instructions
- Hand wash in cool water with a mild detergent to prevent shrinking or distortion.
- Gently squeeze out excess water using a towel rather than wringing the fabric.
- Lay the hat flat on a dry towel and reshape it while damp to ensure it retains its circular brim.
Pro Tips & Common Mistakes to Avoid
Maintain consistent tension throughout the project to ensure the hat doesn’t become lopsided. Using a stitch marker at the start of every round is necessary because the continuous spiral makes it easy to lose count. Weave your ends in by splitting the plies of the yarn with your needle to make them invisible and secure. To adjust the size, add or subtract one round of increases in the crown section; each round adds roughly one inch to the total circumference of the hat.
Frequently Asked Questions
Can I use a larger hook size for this pattern?
Using a larger hook will make the hat larger and the fabric looser. This may result in a floppy brim that doesn’t hold its shape.
How do I know if the hat will fit correctly?
Check the diameter of your crown after Rnd 10. For an adult, it should be approximately 7 inches across before you begin working the side wall.
Is this pattern suitable for beginners?
Yes, the pattern uses only single crochet and basic increases. It is a great way to practice maintaining even tension in the round.
Can I sell the hats I make from this pattern?
Check the original designer’s specific terms provided with your source material or digital file, as rights can vary between creators.
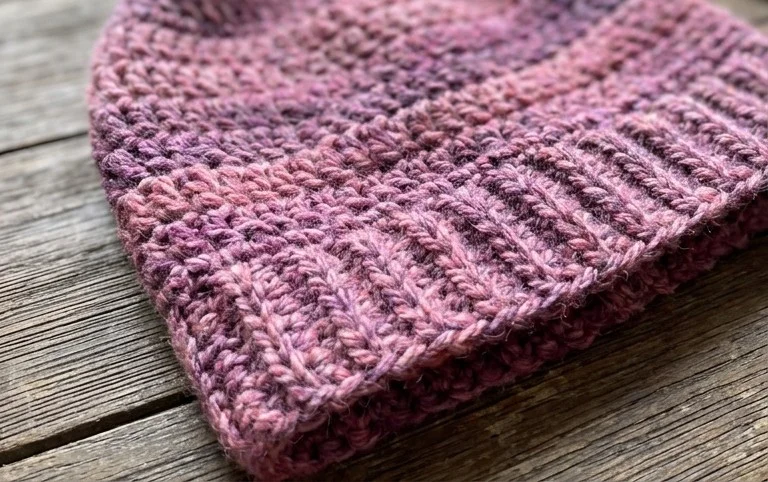
Your finished cotton accessory is ready for sunny afternoons and outdoor activities. Consider using a variegated yarn for your next version to create a completely different look without changing the stitch count. Sharing your finished work on social media helps other makers see how these classic shapes fit different styles. Browse the rest of the blog for more accessible designs and patterns to fill your weekend with productive, creative hours. Enjoy wearing your handmade gear throughout the coming season as it softens and breaks in with daily use.