5 Simple Crochet Stitches for Beginners: Free Pattern
This sturdy container stands firm on your desk, keeping scissors, pens, and measuring tapes within arm’s reach. The fabric feels thick and dense because it uses tight single crochet stitches, which makes it feel substantial rather than flimsy. You will enjoy how the cotton yarn holds its shape once the container is full, providing a solid home for your tools. Beginners appreciate the simple rhythm of working in continuous rounds without needing to join rows. This project is a great way to practice maintaining consistent tension while creating a functional item that clears off your workspace in just a few hours.
Why This Project Is Worth Making
This beginner-friendly project creates a durable, functional piece that helps organize your workspace or home storage. Working in continuous rounds creates a seamless fabric without visible seam lines, which is perfect for maintaining the structural integrity of a container. You can complete this project in a single afternoon, making it an ideal choice for last-minute handmade gifts or refreshing your home organization. The tight tension required for this pattern produces a sturdy side wall that holds its shape well even when filled with heavier items like crochet hooks or desk supplies.
I finished this project in about three hours and it sits perfectly on my desk to hold my scissors and tape measures. The instructions were very clear and the base is rock solid.
— Sarah, home organizer
Pattern Overview & Skill Level
- Skill Level: Beginner
- Approximate Time: 3 to 4 hours
- Construction: Worked in continuous rounds from a flat circular base upward into a tube
- Finished Dimensions: 4 inches diameter at the base, 5 inches tall
Materials & Supplies Needed
- Yarn: Worsted weight (#4), 100% cotton yarn (approx. 150 yards). Cotton is preferred for its lack of stretch and structural stability.
- Hook Size: 4.5 mm (US 7)
- Notions: Tapestry needle, stitch marker, scissors
- Safe yarn substitutions: Acrylic yarn of the same weight can be used, though the final item may be slightly softer and less rigid than cotton.
Stitch Guide & Abbreviations (US Terms)
- MR: Magic Ring
- ch: chain
- sc: single crochet
- inc: 2 sc in the same stitch (increase)
- sl st: slip stitch
- st(s): stitch(es)
- BLO: Back Loop Only
Step-by-Step Pattern Instructions
Base
The base is worked in a flat circle. Place a stitch marker at the beginning of every round to keep track of your position.
- Rnd 1: 6 sc in MR (6 sts)
- Rnd 2: Inc in each st around (12 sts)
- Rnd 3: [1 sc, inc] 6 times (18 sts)
- Rnd 4: [2 sc, inc] 6 times (24 sts)
- Rnd 5: [3 sc, inc] 6 times (30 sts)
- Rnd 6: [4 sc, inc] 6 times (36 sts)
Body
The transition from the base to the body starts with a round worked in the back loops to create a sharp corner.
- Rnd 7: Sc in BLO of every st around (36 sts)
- Rnd 8-22: Sc in every st around (36 sts)
- Rnd 23: Sl st in each st around to create a clean, reinforced edge. Fasten off and cut the yarn.
Finishing
Use your tapestry needle to weave in the tail from the magic ring securely. Since the base undergoes some stress when filled, knot the tail around one of the internal stitches before burying the end under the stitches on the inside of the basket.
Care & Washing Instructions
- Hand wash in cool water with a mild detergent to prevent the cotton fibers from shrinking.
- Reshape the basket while damp and lay it flat on a clean towel to air dry completely.
- Avoid machine drying, as high heat may cause the fibers to lose their structural stiffness.
Pro Tips & Common Mistakes to Avoid
- Maintain tight tension throughout the project by pulling the yarn slightly after every stitch; this prevents gaps between stitches where contents might peek through.
- Always use a stitch marker at the start of each round to avoid losing your count, especially when working in continuous rounds without a slip stitch join.
- To weave ends invisibly, feed the tapestry needle through the internal strands of the stitches rather than the visible surface loops, keeping the exterior clean.
- If you wish to make the basket wider, add more increase rounds at the base; keep in mind that doing so will require significantly more yardage and may affect the vertical stability of the walls.
Frequently Asked Questions
Can I use a larger hook for this pattern?
You can use a larger hook if you prefer a looser texture, but be aware that the basket will have less structural stability and may collapse if it holds heavy items.
Is this pattern suitable for complete beginners?
Yes, the pattern only uses the single crochet stitch and simple increase techniques, making it an excellent project for someone just learning to work in the round.
Can I sell the baskets I make from this pattern?
You are welcome to sell finished items made from this pattern, but please credit the original design and do not distribute the pattern text itself.
What should I do if my basket edges are curling?
Curling usually occurs if your tension is too tight or your hook is too small. Try blocking the piece by spraying it with water and stretching it into shape while pinning it to a firm surface.
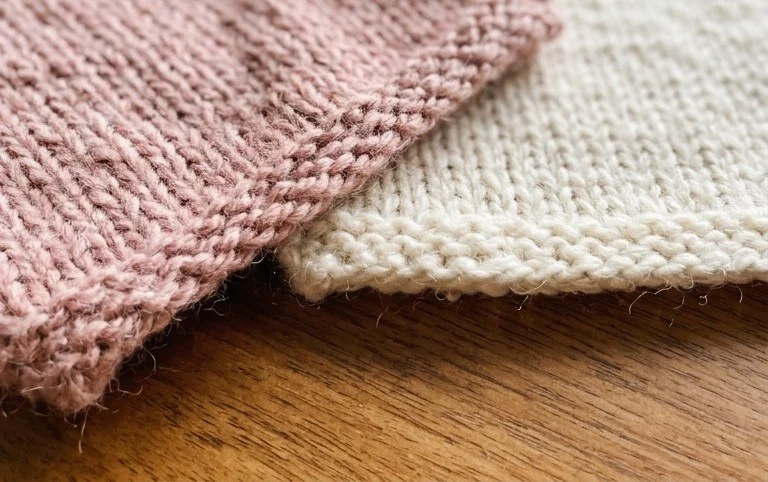
Your new crochet organizer keeps your desk tidy while showing off your handmade work in a practical way. You can modify this design by holding two strands of yarn together for an even firmer wall, or by choosing a variegated cotton to add a bit of visual texture to the sides. Posting a picture of your finished project on social media helps other makers see how your color choices turned out. Check out the rest of my library for more free patterns that help you build your skills one stitch at a time.