40+ Unique Crochet Stitches: Free Step-by-Step Patterns
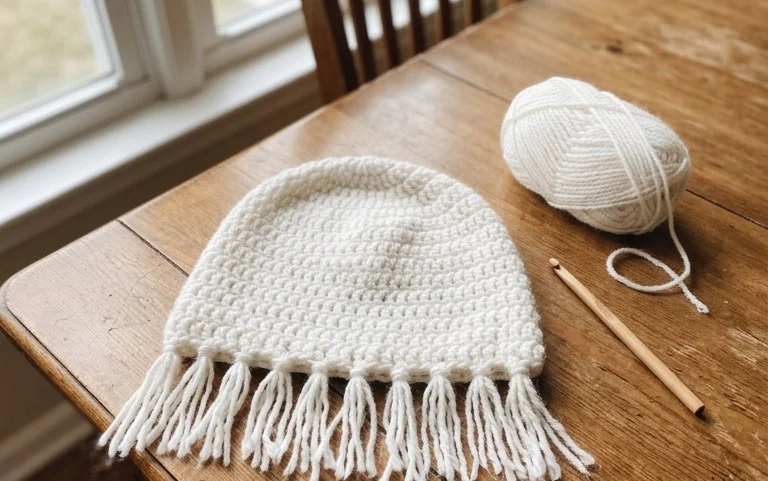
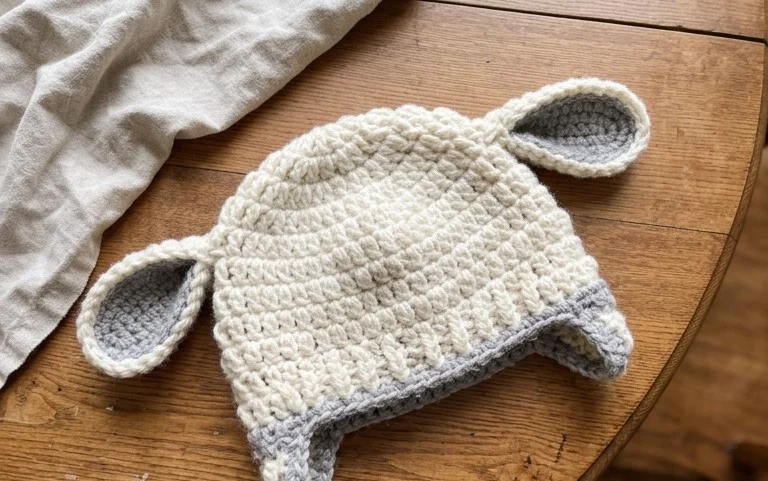
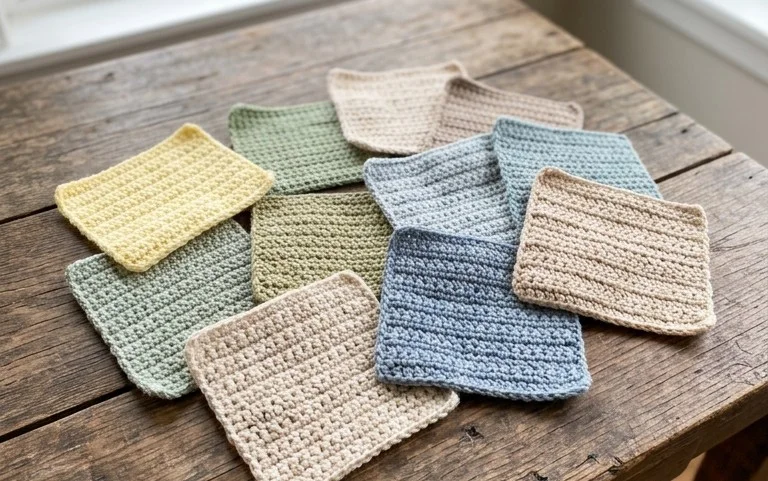
These textured crochet patterns transform simple balls of yarn into weighted, tactile projects that bring a professional finish to any handmade item. Whether you want to add decorative borders to a blanket or create unique gift bags, learning these techniques helps you move beyond basic chain stitches. You will encounter familiar loops repurposed into wavy lines, dense clusters, and airy mesh patterns that keep your hands busy and your mind engaged. Each swatch serves as a functional sample for your future blankets and accessories. Mastering these stitches builds the confidence to manipulate yarn tension and follow charts without feeling overwhelmed by complex written instructions.
Why You’ll Love This Pattern
This crochet sphere pattern uses a basic increases-and-decreases technique, making it a foundational project for any amigurumi enthusiast. Because it works up quickly in a single afternoon, it is an ideal way to practice maintaining even tension across continuous rounds without the intimidation of complex shaping. You can easily adapt the size by adding or subtracting increase rounds, allowing you to create anything from small keychain charms to large plush balls for home decor. The repetitive nature of the sphere construction provides a relaxing experience that allows you to build muscle memory for counting stitches in the round.
I finally learned how to keep my magic ring tight after trying this pattern, and it was so satisfying to see the ball come together in just one hour.
— Sarah, beginner crocheter
Pattern Overview & Skill Level
- Skill Level: Beginner
- Approximate Time: 60 to 90 minutes
- Construction: Amigurumi style, worked in a continuous spiral without joining rounds
- Finished Dimensions: Approximately 3 inches in diameter using worsted weight yarn
Materials & Supplies Needed
- Yarn: Worsted #4 weight, 100% acrylic or cotton, approximately 30 yards.
- Hook Size: 4.0 mm (G-6).
- Notions: Polyester fiberfill stuffing, stitch markers, tapestry needle for weaving ends, and scissors.
- Yarn Substitutions: You can use DK weight yarn with a 3.5 mm hook for a smaller, denser sphere, or bulky yarn with a 5.5 mm hook for a larger, softer project. Adjusting weight requires changing the hook size to ensure the stuffing does not show through the gaps.
Stitch Guide & Abbreviations (US Terms)
- MR = magic ring
- ch = chain
- sc = single crochet
- inc = increase (work 2 sc in the same stitch)
- dec = decrease (sc 2 stitches together, preferably using the invisible decrease method by working into the front loops only)
- st = stitch
- sl st = slip stitch
Step-by-Step Pattern Instructions
Work in continuous rounds. Place a stitch marker in the first stitch of every round to keep track of your position.
Rnd 1: Work 6 sc into a magic ring (6 sts).
Rnd 2: Work 2 sc in each st around (12 sts).
Rnd 3: [1 sc, inc] 6 times (18 sts).
Rnd 4: [2 sc, inc] 6 times (24 sts).
Rnd 5: [3 sc, inc] 6 times (30 sts).
Rnd 6-10: Work 1 sc in each st around (30 sts).
Rnd 11: [3 sc, dec] 6 times (24 sts).
Rnd 12: [2 sc, dec] 6 times (18 sts).
Begin adding fiberfill stuffing firmly. Continue stuffing as you close the sphere to ensure it maintains a round shape.
Rnd 13: [1 sc, dec] 6 times (12 sts).
Rnd 14: Work 6 dec (6 sts).
Cut the yarn, leaving a 6-inch tail. Thread the tail onto your tapestry needle and weave it through the front loops of the remaining 6 stitches. Pull tight to close the opening and knot securely. Weave the remaining tail into the center of the sphere.
Care & Washing Instructions
- Hand wash in cool water using a mild wool-safe detergent to maintain the shape of the fiberfill.
- Gently squeeze out excess water with a towel; do not wring or twist the item as it will distort the stuffing.
- Lay the sphere flat on a clean surface in a well-ventilated area to air dry completely.
Pro Tips & Common Mistakes to Avoid
Maintain consistent tension throughout the project. If your stitches are too loose, the stuffing will poke through, so consider dropping down a hook size if you notice visible gaps. Always use a stitch marker at the start of each round; it is very easy to lose track of your stitch count without one, which will prevent the sphere from closing evenly. When decreasing, use the invisible decrease method—insert your hook into the front loop of the next two stitches only—to keep the surface of your sphere smooth and professional looking. If you decide to make a larger sphere, ensure you increase the number of rounds in the middle section (Rnds 6-10) before you start your decreases, and adjust your yarn usage accordingly.
Frequently Asked Questions
Can I use a different yarn weight for this sphere?
Yes, you can use any weight of yarn. However, you must choose a hook size that is smaller than what is recommended on the yarn label to create a dense fabric that holds the stuffing without gaps.
How do I make the sphere larger?
To increase the size, continue the increase sequence beyond Rnd 5. For example, work [4 sc, inc] for Rnd 6. Remember to add extra rounds of even sc stitches before you start decreasing, and reverse your increase pattern when it is time to decrease.
Is this pattern suitable for complete beginners?
This is a perfect beginner project. It teaches the essential mechanics of working in the round, including magic rings, increases, and decreases, which are the building blocks of almost all amigurumi.
Am I allowed to sell items made from this pattern?
Check the original designer’s specific policy regarding finished items. Generally, small-scale sales of handmade items are acceptable, but you should always credit the designer and use your own photographs.
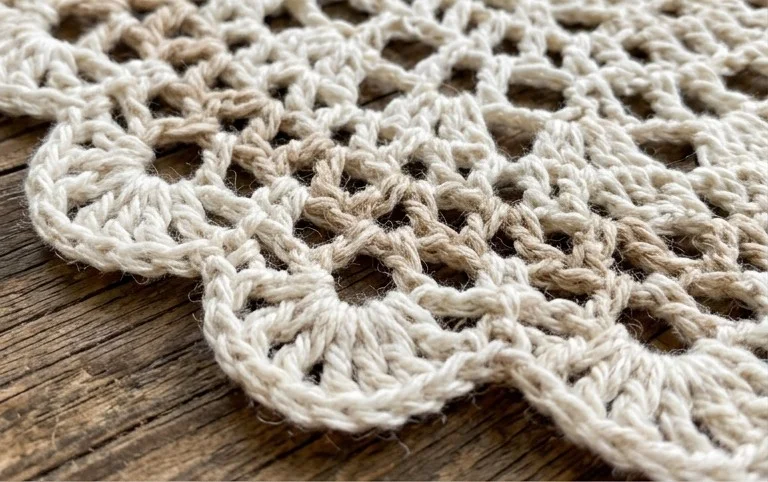
Your finished project shows how much detail a few simple loops can provide when combined with the right tension and focus. You can scale these patterns by swapping your standard acrylic for a fuzzy mohair blend or a thick velvet yarn to change how the texture catches the light on your bookshelf. Seeing your progress across these different styles makes for a great photo, so consider sharing your work with other makers online to get feedback. Explore the full library of stitch guides on this site whenever you need a quick project to fill an empty afternoon at home.