Classic Crochet Granny Square: Free Beginner Pattern
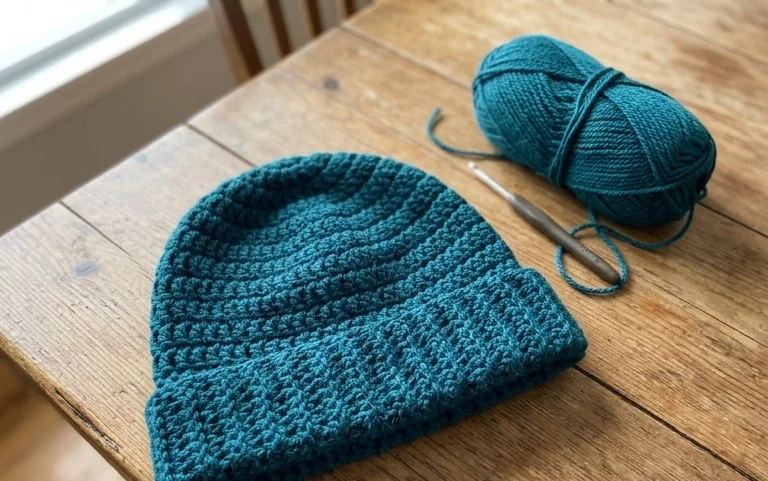
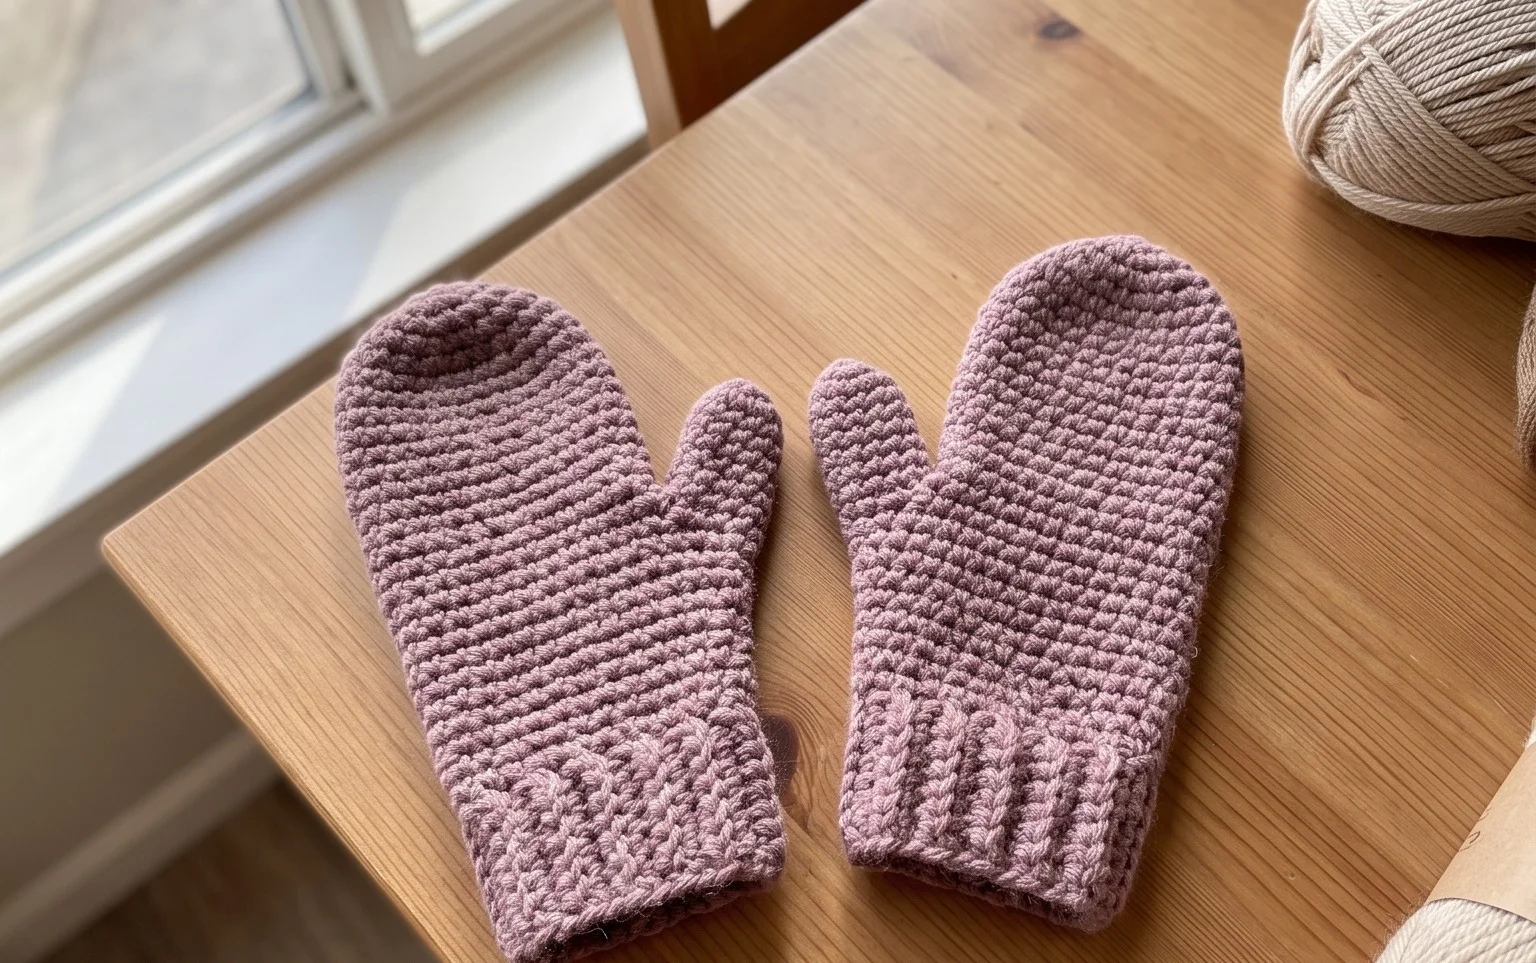
Soft wool loops slide off the hook with a satisfying weight, creating a fabric that feels both structured and pliable in your hands. This square holds a crisp shape that sits flat on a table, making it a reliable choice for beginners who want to master their tension without feeling overwhelmed. It works well as a handmade gift for friends or as a simple piece of decor for your own shelves. You will learn the mechanics of joining rounds to create a clean, seamless look that avoids messy knots or bulky seams at the corners.
Why You’ll Love This Pattern
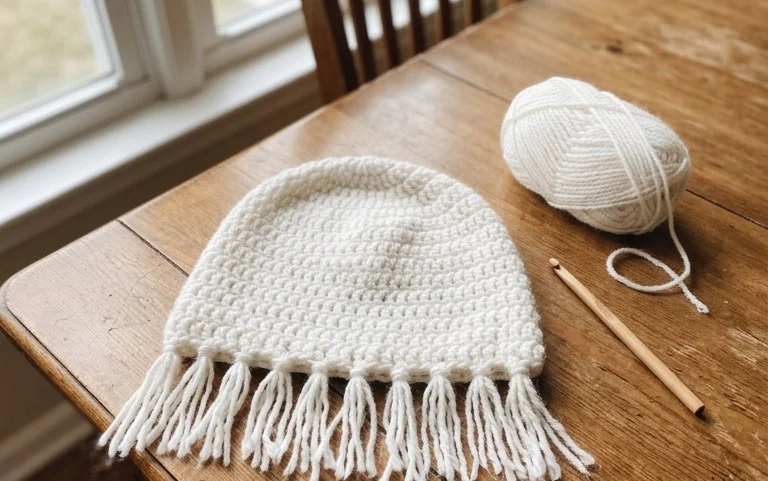
The Classic Crochet Granny Square is the fundamental building block for countless textile projects, from cozy blankets to lightweight summer bags. Because it relies on basic double crochet clusters, it allows for a meditative rhythm that makes it ideal for crafters looking to unwind after a long day. You can use this pattern to clear out your scrap yarn bins, as each round can easily be worked in a different color. The open, airy structure ensures the finished fabric remains flexible and soft, regardless of the yarn fiber you choose.
This pattern helped me finally understand how to keep my corners square without the edges curling up. It is the first project I recommend to anyone learning to crochet.
— Sarah, hobbyist crafter
Pattern Overview & Skill Level
- Skill Level: Beginner
- Approximate Time: 30 to 45 minutes per square
- Construction: Worked in joined rounds, starting from the center and expanding outward.
- Finished Dimensions: Approximately 6 inches by 6 inches when using worsted weight yarn.
Materials & Supplies Needed
- Yarn: Worsted weight (#4), wool or acrylic blend, approximately 20 yards per square.
- Hook Size: 5.0 mm (H-8).
- Notions: Tapestry needle for weaving in ends, scissors, and optional locking stitch markers to track the first stitch of the round.
- Safe yarn substitutions: Cotton yarn will result in a firmer, less stretchy square with more defined stitch texture, while acrylic blends offer a softer drape suitable for blankets.
Stitch Guide & Abbreviations (US Terms)
- ch = chain
- sl st = slip stitch
- dc = double crochet: Yarn over, insert hook into stitch, yarn over, pull up a loop, yarn over, pull through two loops, yarn over, pull through remaining two loops.
- cl = cluster: A group of 3 dc stitches worked into the same space.
- sp = space
- st = stitch
Step-by-Step Pattern Instructions
This square is worked in continuous joined rounds. Each round is joined with a slip stitch to the top of the beginning chain.
- Rnd 1: Start with a magic ring. Ch 3 (counts as first dc), work 2 dc into the ring, ch 2, *3 dc into ring, ch 2; repeat from * twice more. Join with a sl st to the top of the ch-3. (12 dc, 4 ch-2 spaces)
- Rnd 2: Sl st into the next dc and into the corner ch-2 sp. Ch 3, (2 dc, ch 2, 3 dc) in same corner sp. *Ch 1, (3 dc, ch 2, 3 dc) in next corner sp; repeat from * twice more. Ch 1, join with sl st to top of ch-3. (24 dc, 4 ch-2 spaces, 4 ch-1 spaces)
- Rnd 3: Sl st into the next dc and into the corner ch-2 sp. Ch 3, (2 dc, ch 2, 3 dc) in same corner sp. *Ch 1, 3 dc in next ch-1 sp, ch 1, (3 dc, ch 2, 3 dc) in next corner sp; repeat from * twice more. Ch 1, 3 dc in last ch-1 sp, ch 1, join with sl st to top of ch-3. (36 dc, 4 ch-2 spaces, 8 ch-1 spaces)
- Rnd 4: Continue the pattern by working 3 dc into every ch-1 side space and (3 dc, ch 2, 3 dc) into every corner ch-2 space. Join with a sl st and fasten off, leaving a 6-inch tail to weave in. (48 dc, 4 ch-2 spaces, 12 ch-1 spaces)
Care & Washing Instructions
- Hand wash your finished squares in cool water using a mild wool detergent to preserve the structure.
- Lay the squares flat on a towel to air dry, gently patting them into a perfect square shape while damp.
- Block the squares by pinning them to a foam mat if they appear slightly uneven, using steam only if the yarn label permits.
Pro Tips & Common Mistakes to Avoid
Maintain consistent tension by ensuring your yarn feed is smooth; if you pull too tightly, the square will cup inward instead of lying flat. Use a stitch marker to secure the first stitch of every round so you can easily identify where to join your slip stitch. When weaving in your ends, run the yarn tail through the back of the double crochet stitches in multiple directions to ensure the square does not unravel over time. To adjust the size, simply continue adding rounds following the same increase pattern of working clusters into side spaces and corners, though note that each additional round will consume approximately 15 to 20 percent more yarn.
Frequently Asked Questions
Can I use a larger hook size than recommended?
Using a larger hook will result in a more open, lacy texture and a larger finished square, though it may make the fabric appear slightly less structured.
How do I join these squares together?
You can join finished squares using a whip stitch along the back loops or a flat slip stitch seam for a decorative finish that lies flush against the fabric.
Is it okay to mix different yarn brands in one square?
Mixing brands is acceptable as long as the yarn weights match. If you mix fibers, be sure to wash your finished project according to the most delicate yarn’s instructions.
Can I sell items made from this pattern?
You are welcome to sell finished items created from this pattern. I ask that you credit the designer in your online listings to help support the craft.
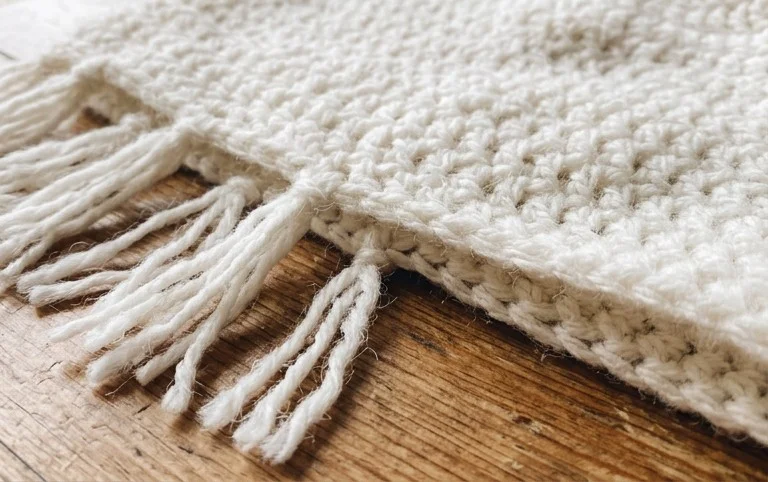
Seeing your yarn turn into a sturdy, rhythmic block provides a quiet sense of accomplishment that simple hobbies often lack. Try working yours with a variegated wool for a playful, shifting color effect that changes with every single round. Share a photo of your finished work on social media so others can see how your color choices turned out. Browse the rest of the blog to find more patterns for blankets, scarves, and accessories that utilize these same basic foundation techniques for your next project.